Creating Clips
Observer allows you to search manually for the content you wish to bookmark. You can create individual clips by marking individual video streams. You can also create multiple clips at once by opening multiple streams. For example, if you mark in and out with four streams open, Observer will create four clips at the same time.
Consider a circumstance in which a customer wishes assurance that their commercial did, in fact, play last night during the 11:00 pm hour on the ABC affiliate. Start by calling up the ABC Video Stream.
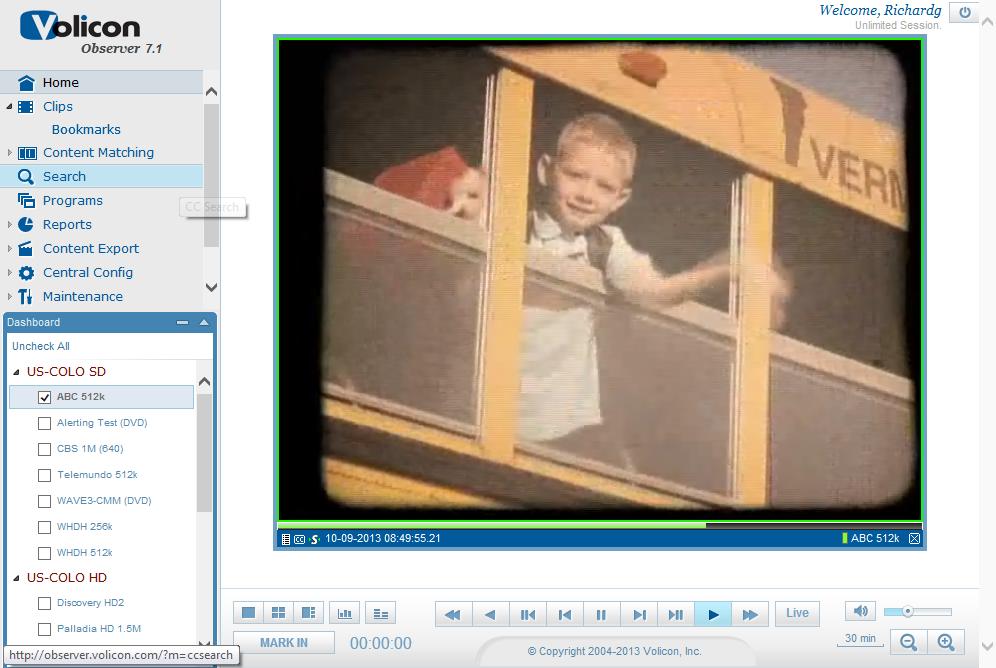
Figure: ABC Video Stream
Click on the timeline to bring up the Go to date and time menu.
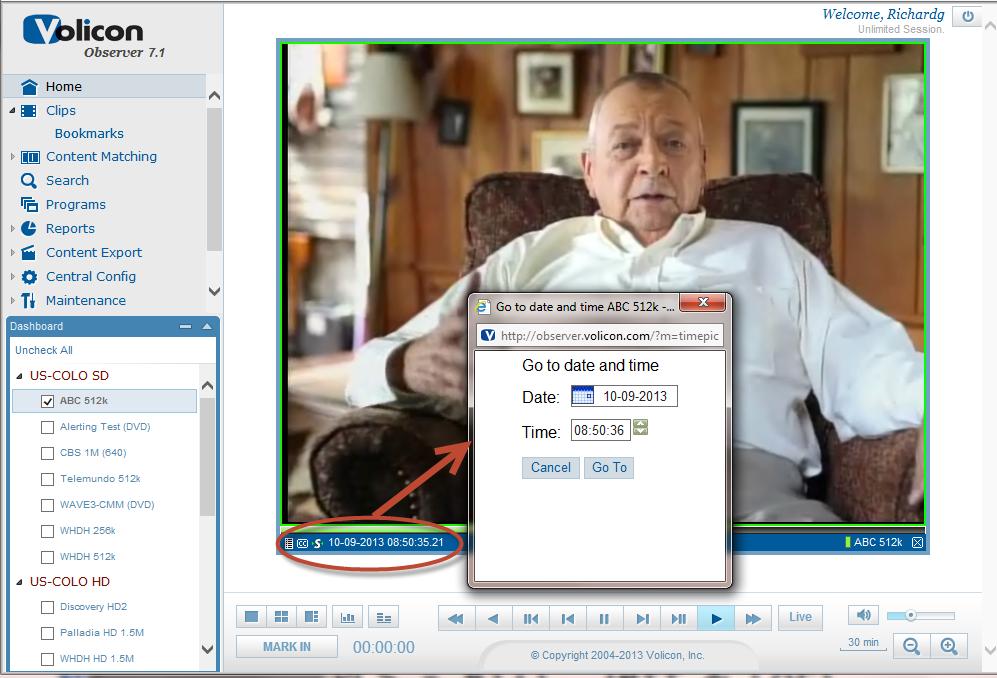
Figure: Launching the Go to date and time Window
In the Date and Time window, enter the time that the commercial was supposed to have played.
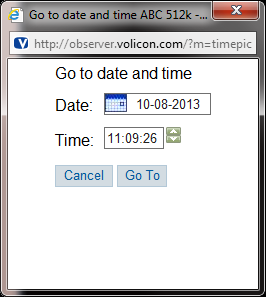
Figure: Go to date and time Window
Use the play bar at the bottom of your screen to locate the exact time the commercial began to play. The Step Forward and Step Backward buttons or the mouse wheel allow(s) you to advance and rewind the content on an individual frame-by-frame basis.
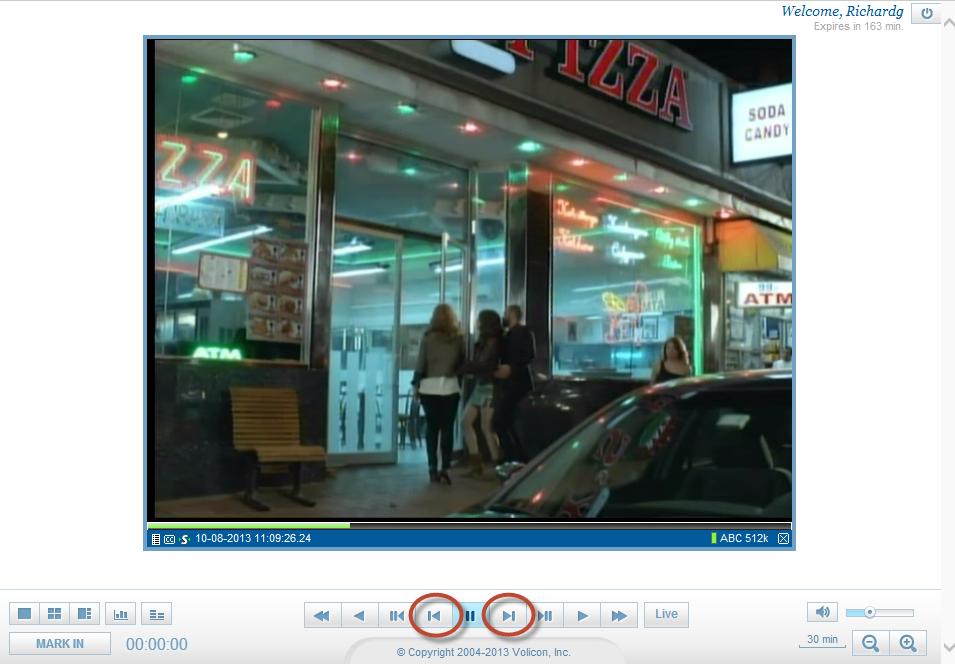
Figure: Step Backward and Step Forward Buttons
Once you have located the beginning of your commercial, Step Backward one frame to view the black frame that signals the beginning of the commercial.
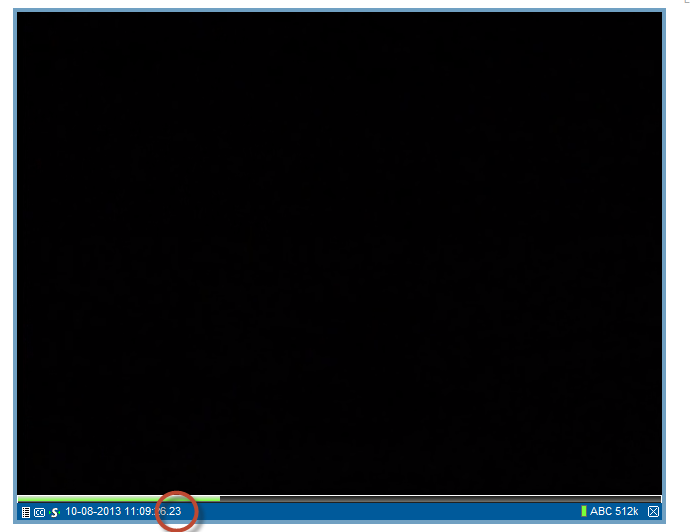
Figure: Beginning of Commercial
Note that Observer allows you to search by individual frames in order to mark your content; the last value in the Time field indicates which frame you are viewing.
To start your clip, click the Mark In button.
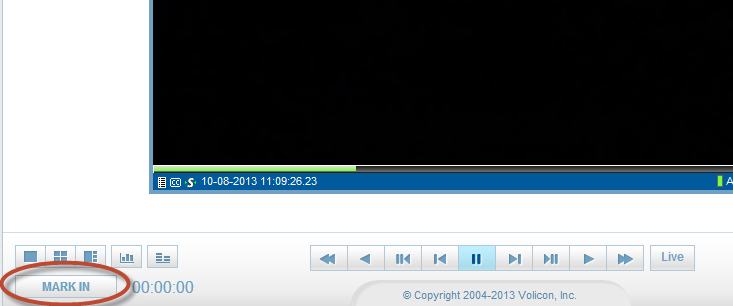
Figure: Mark In Button
Note the timer beside the <Mark In> button, and that the <Mark In> button automatically changes to <Mark Out.>. As you move forward through the stream, the timer will tell you how many seconds, minutes, and hours of video have passed since you marked the clip in.

Figure: Mark In/Out Timer
Play the Video Stream forward until you reach the end of the commercial. Alternatively, you can Fast Forward, use the seek bar, or directly enter the time the commercial ends using the time and date function to reach the end of the commercial. Use the Step Forward and Step Backward buttons to isolate the black frame that indicates the end of the commercial.
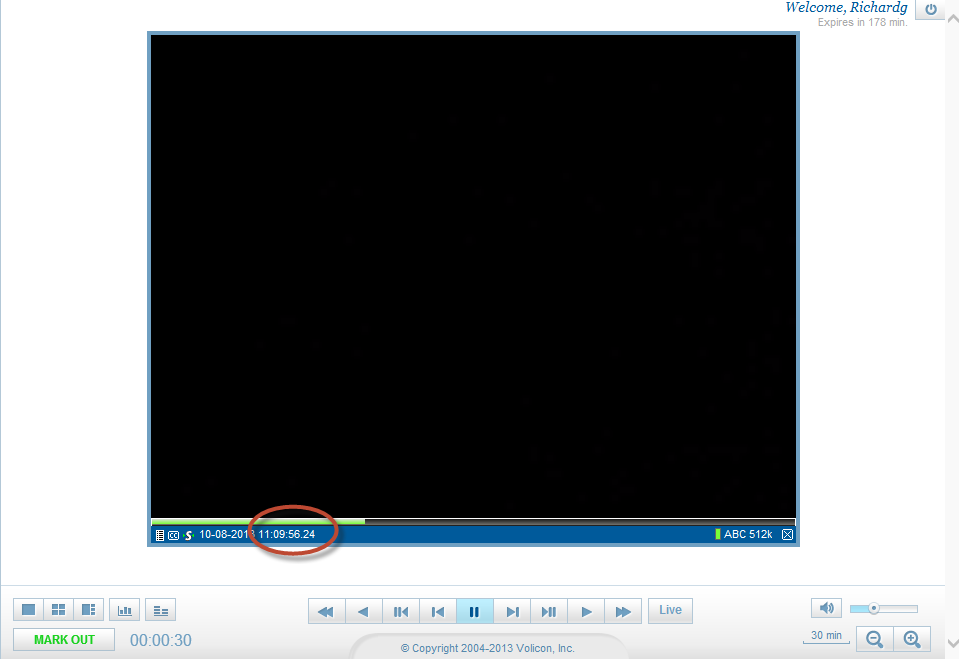
Figure: End of Commercial
Click the Mark Out button to indicate the end of your selection.
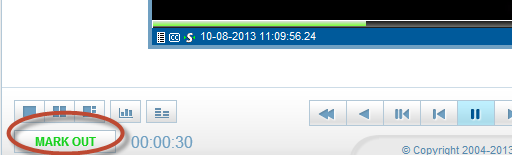
Figure: Mark Out Button
Notice that in this example, the clip is 30 seconds long.
Observer opens the Clip Creation – Webpage Dialog window.

Figure: Clip Creation – Webpage Dialog Window
From here you can define the parameters of your clip. Specifically, you can:
Choose whether to create a new clip, or add this track to an existing clip, by choosing the appropriate radio button in the upper left of the window. For example, you might wish to create a clip that includes every instance of an advertiser’s commercials during prime time. To do so, you would find the first instance, create that clip, and then add the subsequent commercial tracks to that existing clip. This will not “splice” the clips together, but merely group them together for easy retrieval.
Name your clip. Observer provides a default name that indicates the Source channel, date, and time of the clip.
Create a description of the clip. The information you enter in the Description field will appear in the Clips>Bookmarks folder where the clip will be stored. There is no limit on the amount of metadata you can store with the clip. All the metadata entered is searchable on the Observer system.
Decide who the clip will be visible to. Your options are:
Me: this clip will only appear in the Bookmarks tab viewable by you and any authorized admin of the Volicon solution.
Group: this clip will appear in the Bookmarks tab viewable by everyone in your similar user group and any authorized admin of the Volicon solution.
Everyone: this clip will appear in the Bookmarks viewable by everyone with access to your Volicon server.
Name your clip, give it a description, and click OK.
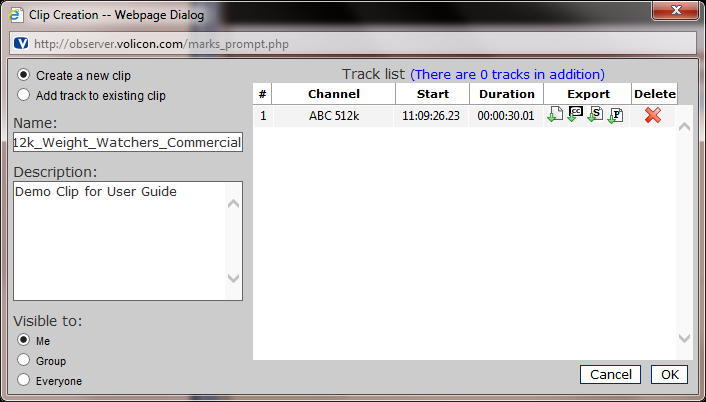
Figure: Saving the Clip
Your new clip appears in your Bookmark tab under Clips.
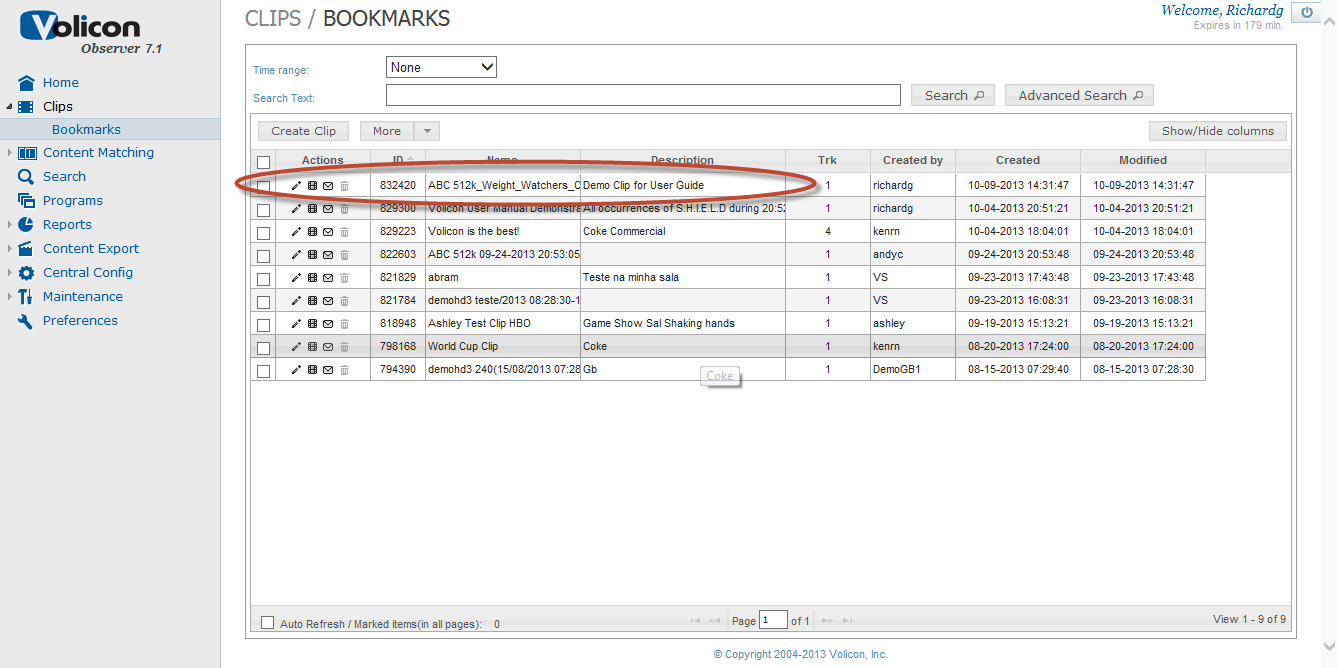
Figure: New Clip Appears in Bookmarks