Front-end Setup
User Preferences
In User Preferences from the Left menu, you can configure the Seek-bar scale, change the login password and additional parameters as shown below:
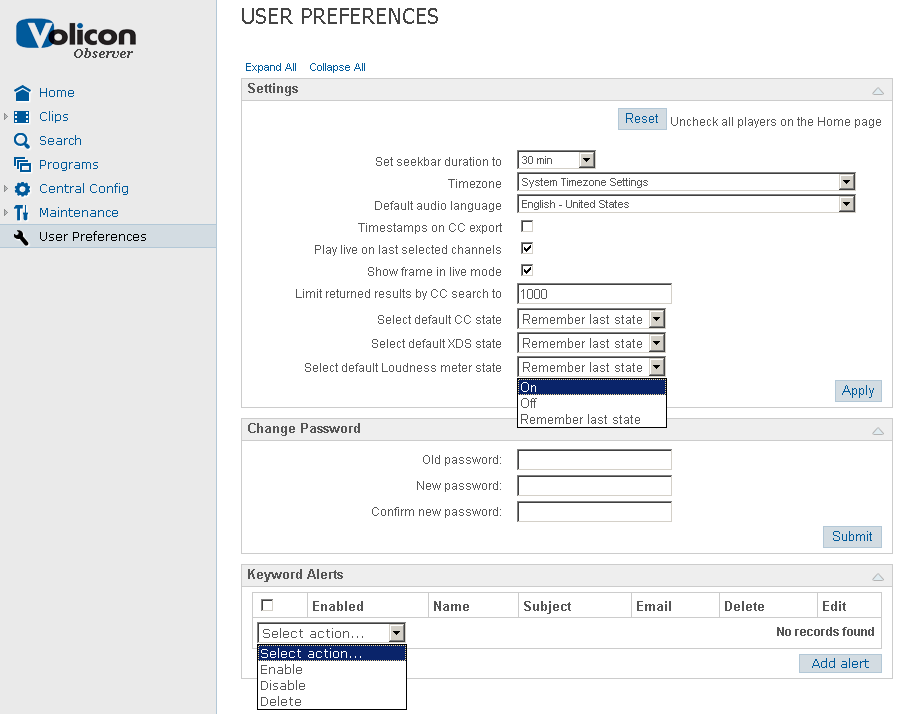
Figure: User Preferences Window
Preference Option |
Definition |
Seek-bar duration |
Seek-bar duration time in minutes |
Time zone |
Specifies user player display and clip date/time. System Time zone Settings – sourced from user’s Web client machine time zone (default). For the Observer Pro (Silverlight) the default is the only time zone setting available – change through Web client machine time zone |
Default audio language |
Configured for the encoder servers in audio profile |
Timestamp on CC export |
Enables timestamps on CC being exported |
Play live last selected channels |
Play-live on channels selected last time just before logout rather than continue playing from when last left off |
Show frame in live mode |
Enable frame control in live mode |
Limited results of CC search |
Limit the maximum number of clips from CC searches |
Select default CC state |
CC “On”, “Off” or “Remember last state “ |
Select default XDS state |
XDS “On”, “Off” or “Remember last state “ |
Select default Loudness meter state |
Loudness “On”, “Off” or “Remember last state “ |
Change Password |
Ability to change your login password |
Observer Theme |
Background, color and display schemes |
Keyword Alerts |
Enable alerts of CC for configured keywords “Enable”, “Disable” or “Delete” |
Use slider players control |
Checkbox (Check/Uncheck) |
User Management
See the Observer Admin Guide.
Alert Notification, Emails and SNMP Notification
See the Observer Admin Guide.
Scheduled Recording Module
This is an optional module:
Channel/service recording specified periods
Channel/service and verification during the scheduled periods
Dwelling on a stream (instead of scanning) for an extended period
Recorded Events
To enter this page select Central Config → Scheduled Recording
Click on an event line below to view your event details. The Event Details window will appear at the right of the display.
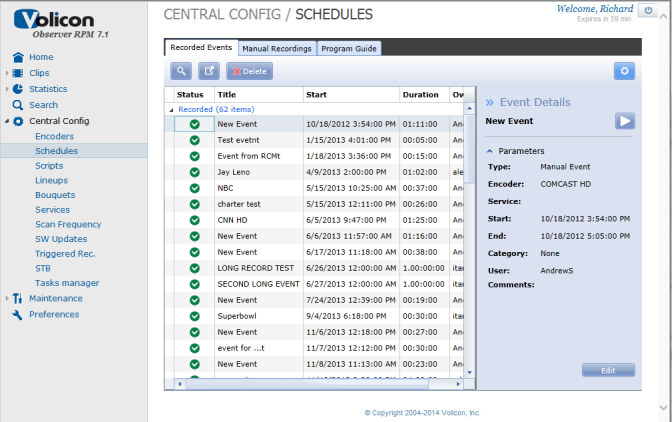
Figure: Schedules
Use the Search icon to search for events.

Figure: Search Icon
Use the Export icon to export the list of all the events.
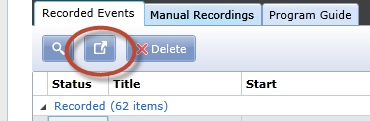
Figure: Export Icon
To schedule your recording events, click on the Manual Recordings tab.

Figure: Manual Recordings Tab
Click Create to open your Event Details window.
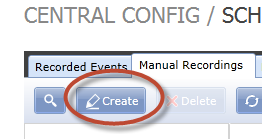
Figure: Create Button
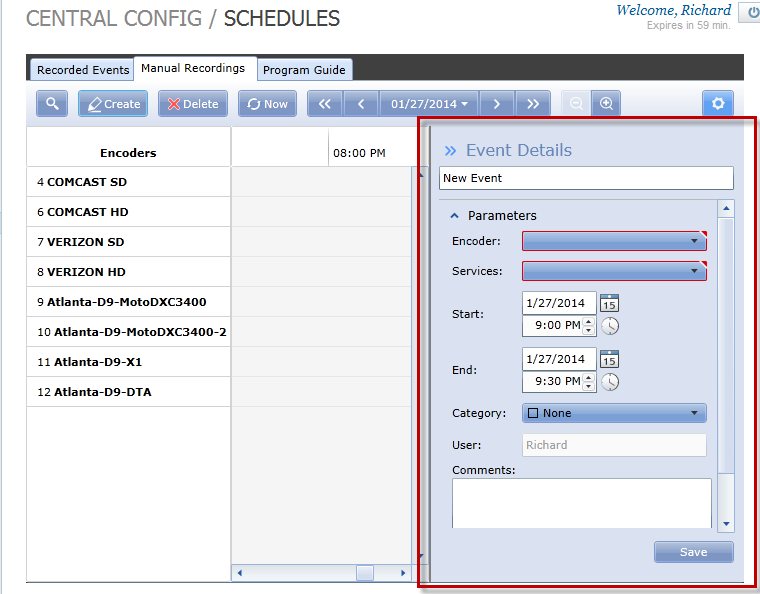
Figure: Even Details Window
Select you Parameters:
Encoder/stream
Service - Channel dialed in an Encoder/stream
Start and End - Time
Category
Then press the <Save> button to schedule the recording event.